High-speed digital
Plan continuous references, layer transitions and impedance requirements before routing dense interfaces.
Explore stackup concepts ↗Select prepreg and core constructions. Calculate board thickness and starting impedance geometry. Compare panel economics before you commit to fabrication.
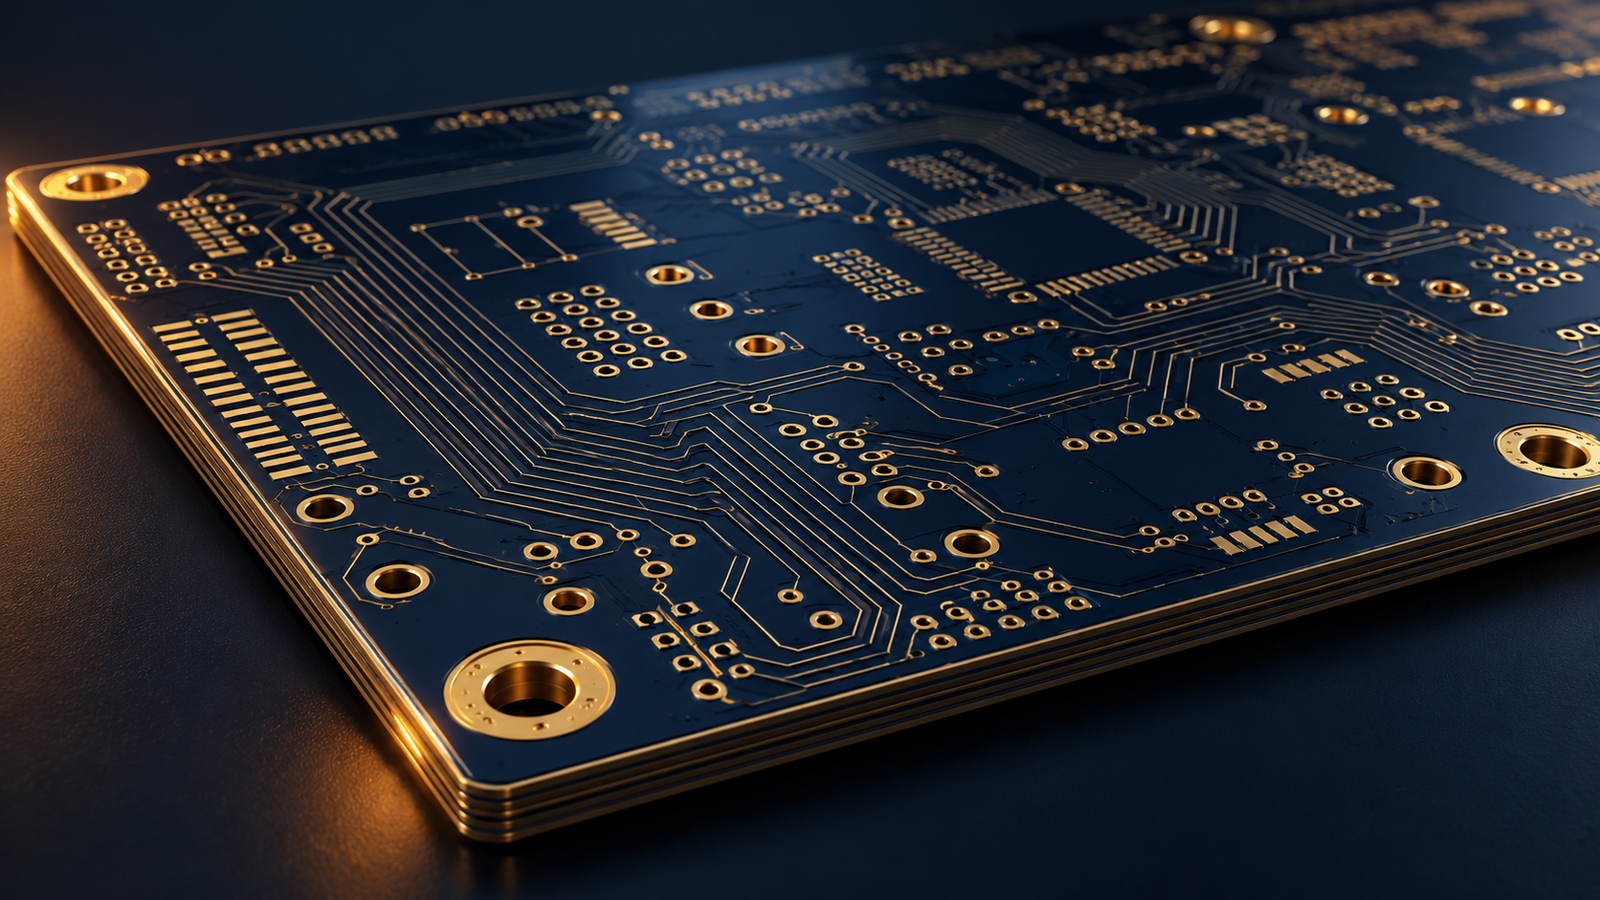
An 8 layer PCB uses eight conductive copper layers separated by dielectric material. Layer allocation helps balance routing density, signal references and power distribution.
Plan continuous references, layer transitions and impedance requirements before routing dense interfaces.
Explore stackup concepts ↗Bring board thickness, copper distribution, hole geometry and assembly needs into the same design conversation.
Prepare fabrication requirements ↗Make revisions, quantities, inspection requirements and delivery targets explicit in a traceable RFQ.
Build your project brief ↗Choose prepreg construction, ply count and core dielectric thickness. The section and totals update together. Copper is counted separately from each core.
| Between | Construction | Plies | mm / ply or core | Dk |
|---|
Prepreg presets use selected Isola 370HR reference constructions and Dk at 1 GHz. They do not represent stocked materials. Pressed thickness depends on copper coverage, resin flow and the fabricator’s process. Editable core values are dielectric-only planning dimensions. The tolerance band applies your assumption to the summed thickness; it is not a statistical tolerance analysis.
Isola material data and current construction tables. Confirm material availability, resin fill, copper balance, plated outer copper and finished thickness before release.
Single-ended surface microstrip over one continuous reference plane. H is dielectric distance from the trace underside to the plane surface.
Hammerstad–Jensen quasi-static microstrip model with finite conductor thickness correction. No solder mask, copper roughness, etch trapezoid, frequency dispersion, neighboring traces or plane voids are modeled. The width sweep varies only width; it is not a complete impedance tolerance budget. Differential pairs, asymmetric stripline and coplanar structures need a coupled-field solver and a fabricator-approved stackup.
Formula reference: Qucs technical documentation. This calculator is a layout starting point, not an impedance test report.
Transparent budget model in USD. All default rates are illustrative inputs, not market prices or a quotation. Replace them with your supplier’s rates.
Uniform grid packing compares 0° and 90° rotation, without mixed-orientation nesting. Expected yield is a planning assumption, not a delivery guarantee. Processing is a user-supplied all-in panel rate; HDI cycles, special tests, tooling, freight, taxes and commercial margin must be included separately in a real quote.
The useful question is whether the construction supports your routing, references, manufacturing process and cost target at the same time.
| Decision | What to compare | What to retain |
|---|---|---|
| 6 vs 8 layers | Routing congestion, reference continuity and available power distribution | Layer budget and interface constraints |
| 1.0–2.4 mm constructions | Connector fit, stiffness, hole aspect ratio and internal dielectric budget | Finished thickness and tolerance |
| 106 / 1080 / 2116 / 7628 PP | Resin content, pressed thickness, copper fill and material availability | Approved material construction |
| 50 Ω / 90 Ω / 100 Ω targets | Single-ended versus differential mode, actual Dk, spacing and trace shape | Fabricator-approved geometry and coupons |
| Prototype vs production price | Panel yield, setup amortization, test scope and process requirements | Like-for-like written quote |
Compare ground-rich and dual-power allocations, then check each signal layer’s return path.
Study the constructions →Copper, hole geometry and via architecture interact. Review them as one construction.
Build your specification →Keep quantities, release revision, testing and acceptance criteria consistent across quotes.
Prepare your RFQ →Review every high-speed route and transition for reference-plane interruptions. Resolve split crossings before layout sign-off.
Provide target impedance, tolerance, layers and test expectations. Have the fabricator confirm geometry for its actual materials.
Review copper and dielectric symmetry, finished hole sizes and laminate compatibility with the intended manufacturing process.
An 8 layer PCB has eight conductive copper layers separated by insulating dielectric material. Signals, ground references and power distribution share these layers according to the electrical design.
No. Layer assignment depends on interfaces, routing density, power distribution, material properties and the fabrication process. A conceptual stackup needs fabricator confirmation before release.
Yes. Describe your application, approximate dimensions, quantity and target date. Drawings are optional; detailed pricing and feasibility require sufficient design information.
The calculator estimates a budget from editable panel dimensions, yield and illustrative manufacturing rates. It is not a supplier quotation; actual pricing requires project review.
Further reading: advanced 8 layer stackup design · 8-layer PCB manufacturing guidelines
October 16, 2026
Turn fabricator questions into traceable decisions with an issue log, geometry evidence, approval boundaries and a complete release update.
October 15, 2026
Use a layer-transition worksheet to identify changing reference planes, ground connections and unresolved discontinuities before high-speed routing sign-off.
October 14, 2026
Check an eight-layer board against a connector or card guide using interval arithmetic, measurement conventions and an explicit acceptance worksheet.
October 13, 2026
Use a manifest, geometry checks and a replacement-release procedure to prevent mixed revisions in an eight-layer fabrication package.
October 12, 2026
Compare setup charges, recurring board prices and scope differences using a reproducible two-supplier example rather than headline unit price.
October 11, 2026
Distinguish finished hole diameter from production drill size and use a declared geometric example to prepare a useful hole specification.